
How to Lay Plastic Mulch: Bed Preparation, Drip Tape and Anchoring
Learning how to lay plastic mulch starts before the roll reaches the field. A workable bed, a planned irrigation layout and securely buried edges matter more than making the film look perfectly stretched.
This guide covers agricultural mulch film for vegetable beds, including hand laying and the checks needed when using a mulch layer. It is not an installation guide for woven landscape fabric or greenhouse covering.
The practical sequence: prepare the bed, plan and check drip irrigation, confirm the correct film face, lay a short trial section, secure the edges with soil, then inspect the result before planting the full area. Follow the film supplier’s and equipment manufacturer’s instructions where settings are product-specific.
1. Confirm the installation plan before unrolling
Write down the crop, planting arrangement, bed profile, irrigation layout, film specification and end-of-season handling plan. Give the same information to the operator and the person preparing the beds.
- Film width: allow for the shaped bed and the material needed for edge anchoring—not only the flat bed top. Use the plastic mulch roll sizes guide to prepare your measurements.
- Roll and machine fit: confirm the core, roll width, outside diameter and weight against the actual equipment.
- Correct face: check the supplier’s installation direction for white-on-black, silver-on-black and other multilayer films. Do not identify an unfamiliar film only by its appearance.
- Handling limits: obtain the grade’s laying instructions. Nominal thickness alone does not define its allowable installation tension.
Resolve the film’s intended function before installation. The mulch color comparison and mulch thickness guide cover those selection questions separately.
2. Prepare a firm, even bed
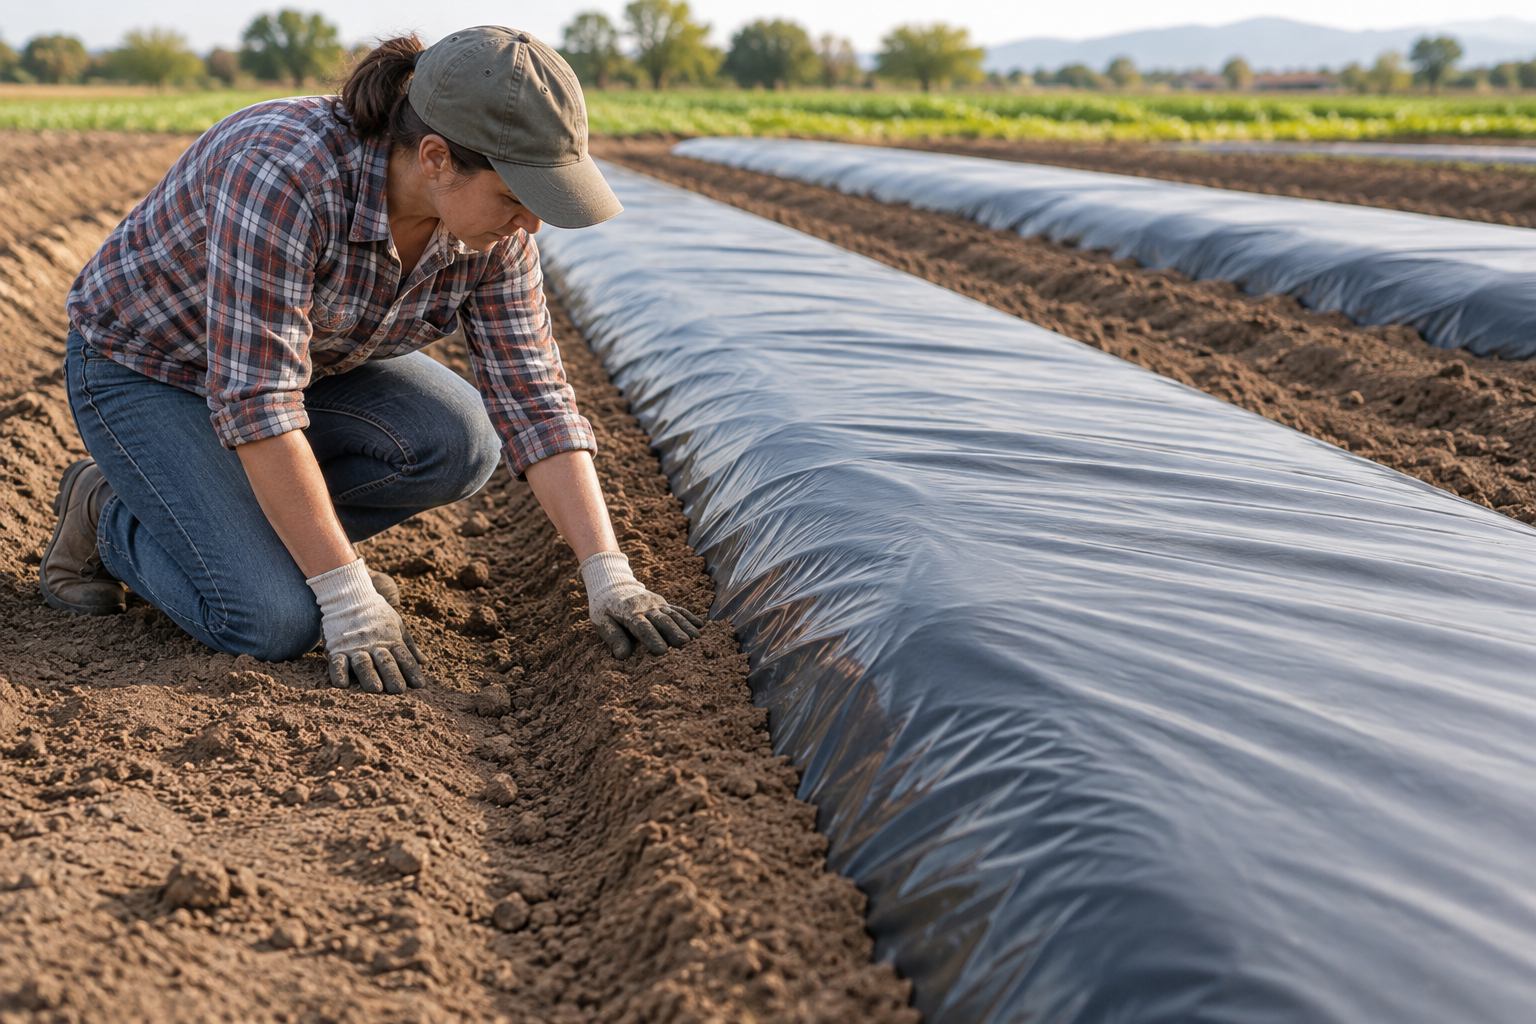
Remove sharp debris and break down large clods that could puncture the cover or hold it away from the soil. Form the bed in workable conditions, not when the soil is muddy. Confirm any soil-test-based amendments and preplant operations before covering the surface.
NC State Extension describes firm, crowned beds and moist—not wet—soil for laying plastic mulch. Bed dimensions and drainage arrangements still need to fit the crop, soil and equipment; one height is not suitable for every field.
Avoid hollows beneath the cover. Oklahoma State University Extension explains why soil contact matters: air gaps affect heat transfer and loose film can move in the wind. Film should follow the prepared surface rather than bridge over an uneven bed.
3. Position and test drip tape before it becomes difficult to reach
Install drip tape before hand laying, or through the intended delivery system during a machine pass. Record its route so planting holes, stakes and later tools can avoid it.
Do not assume that one centered line is always correct. NC State’s irrigation guidance distinguishes planting arrangements when discussing tape placement. Line count, offset and depth should match the crop rows, soil wetting pattern and irrigation design. Emitter orientation must follow the tape manufacturer’s instructions.
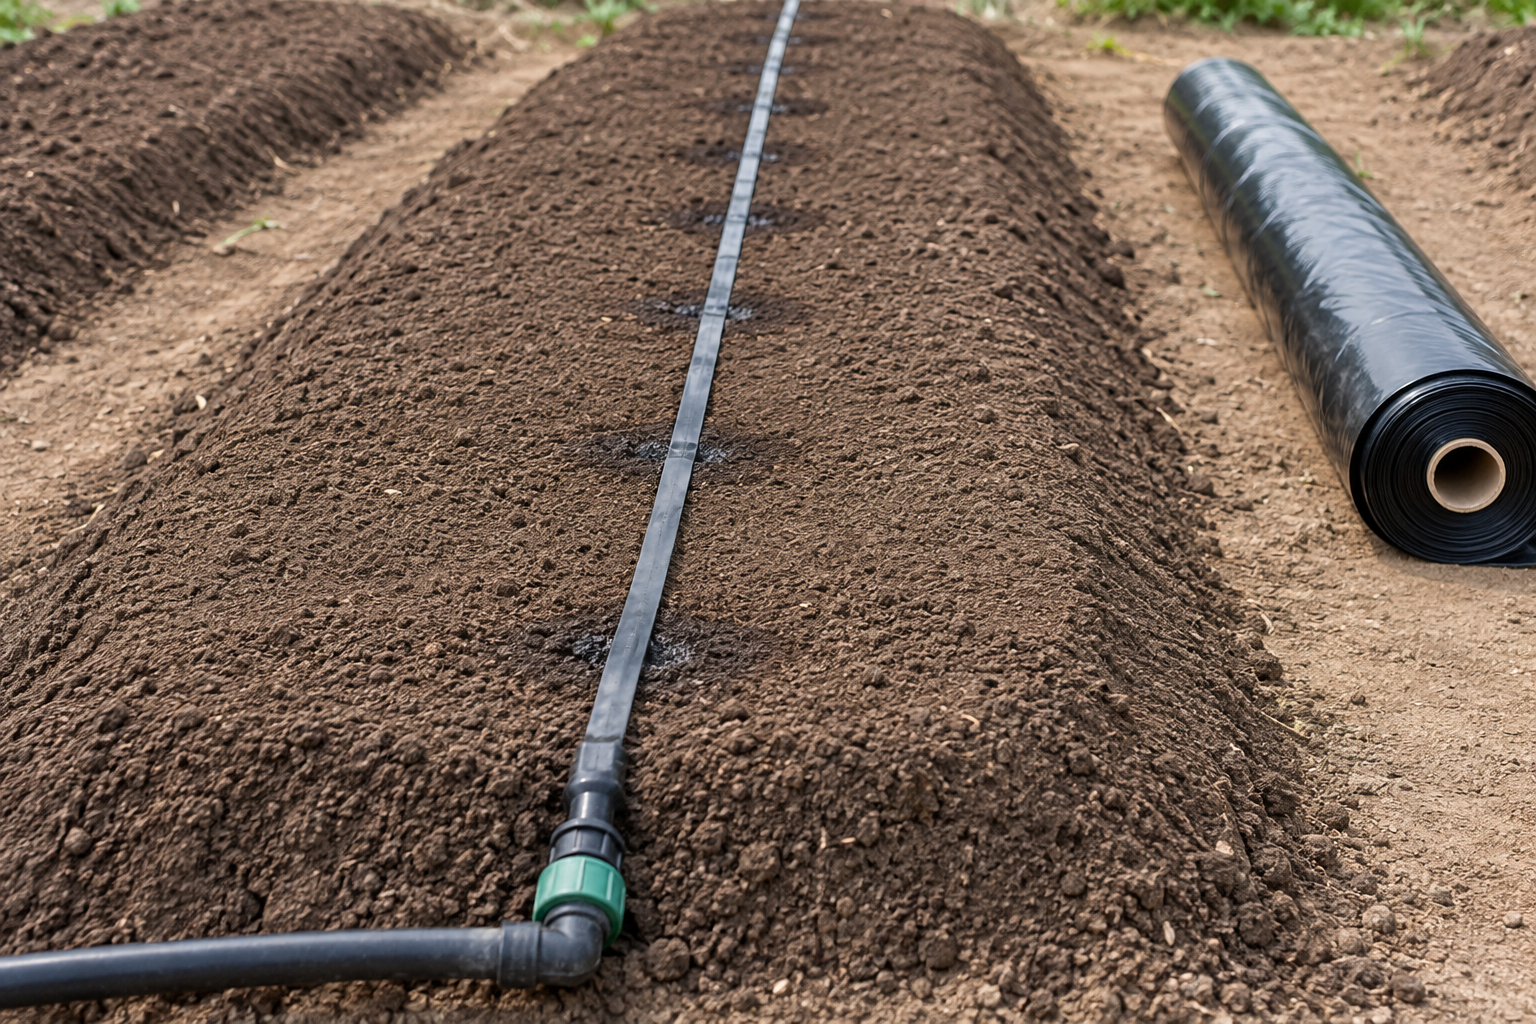
For a hand-laid bed, check connections and operation while the line is accessible. With a combined layer, inspect and test the first installed section. Follow the irrigation supplier’s flushing and pressure instructions; look for kinks, damaged tape and leaking connections.
A wet aisle does not confirm that the crop root zone is adequately watered. Penn State Extension’s plasticulture irrigation guidance emphasizes checking soil moisture under the mulch rather than relying on rainfall or surface appearance alone.
4. How to lay plastic mulch by hand
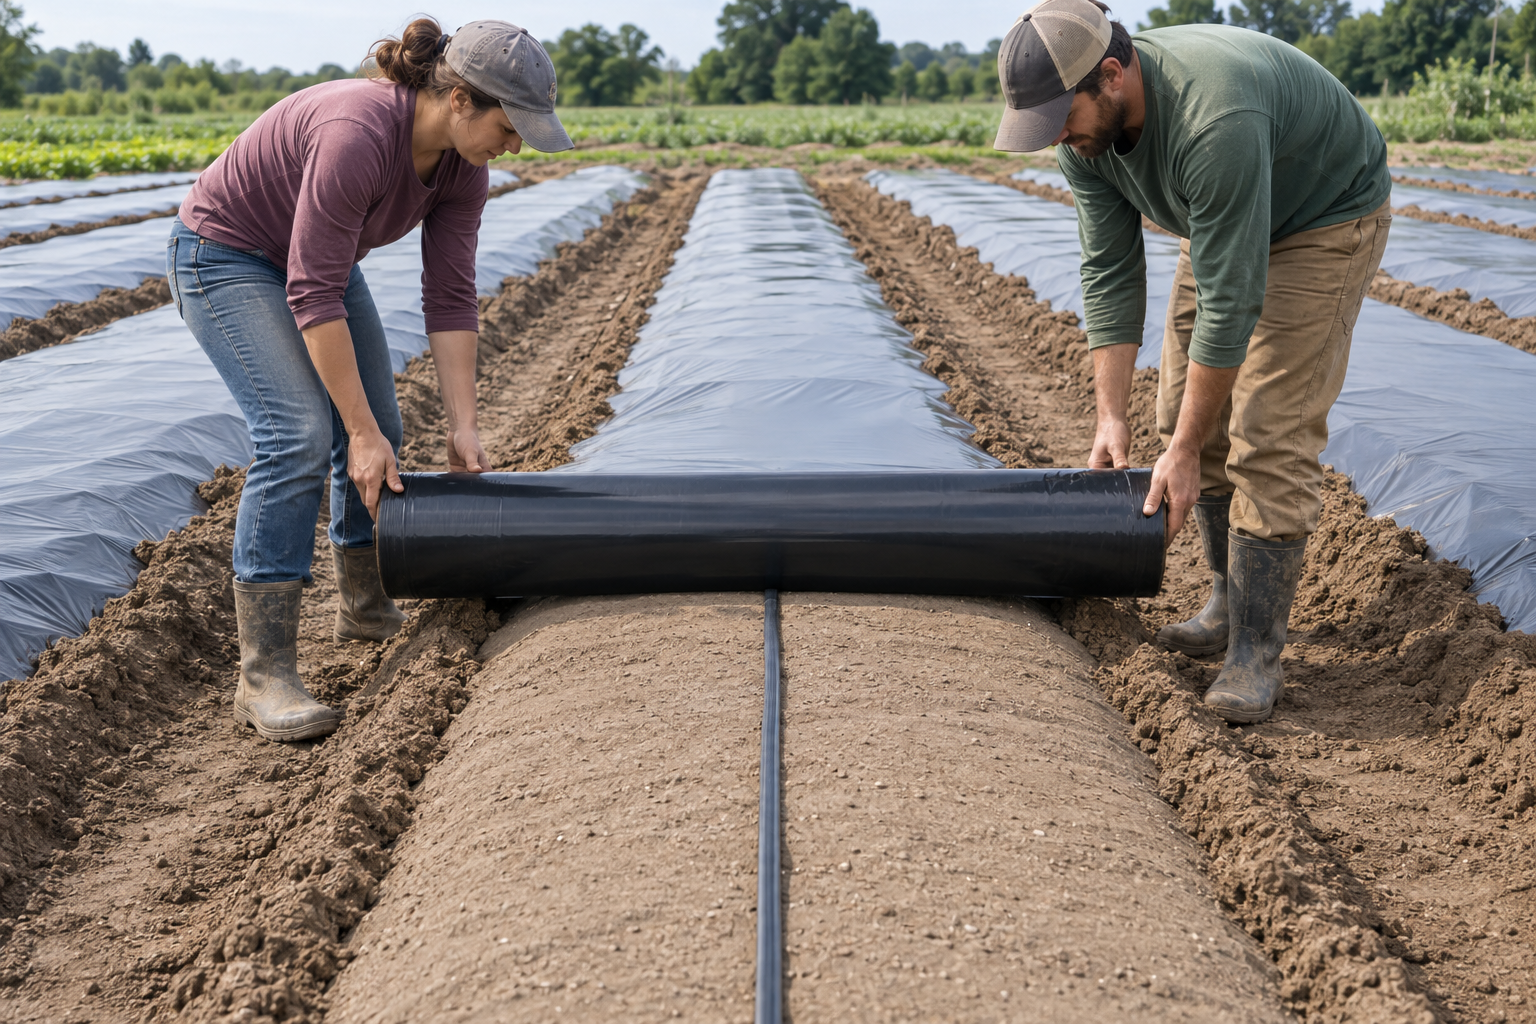
Start with a short section that you can inspect before repeating the process. A second person can help guide the opposite side of a manageable roll. Use suitable handling equipment when the roll cannot be controlled safely by hand.
- Mark both edge lines. Allow enough material to cover the prepared bed and enter the anchoring furrows.
- Prepare the side furrows. Keep excavated soil available for backfilling without leaving sharp clods against the film.
- Secure the starting end. Align the roll and confirm the intended upper face before proceeding.
- Unroll gradually. Guide both edges while keeping the film against the bed. Remove loose folds without stretching an unfamiliar grade aggressively.
- Backfill both edges continuously. Bury and firm the edges with suitable soil. Check for uncovered gaps rather than relying on occasional stones as the finished anchoring method.
- Secure the far end and inspect. Check the cover, edge burial and irrigation route before making planting openings.
The furrow-and-soil approach also appears in Johnny’s red mulch installation sheet. That is a product-specific example: its recommendations must not be treated as universal tension settings for every film material.
5. With a mulch layer, approve the first pass before continuing
Use the manual for the exact machine. Check roll centering, unobstructed unwinding, drip delivery, press-wheel alignment and soil coverage on a short trial pass. Machine compatibility is not established merely because the roll fits on the spindle.
The Rain-Flo Model 2470 manual warns that excessive roll tension can pull film away from the press wheels and excessive wheel pressure can tear it. These are reasons to inspect the laid film—not reasons to copy one machine’s settings onto another.
Equipment safety: keep people clear of moving equipment. Stop and secure the machine according to its manual before inspection or adjustment. Never reach beneath a moving layer to straighten film or drip tape.
Agree in advance what a satisfactory trial section looks like. Record the film grade, roll identification, operator observations and any setting changes. This creates a useful reference if the next roll behaves differently.
6. Do not apply PE tension settings automatically to biodegradable film
Soil-biodegradable mulch may need different handling and machine adjustments. Washington State University’s biodegradable mulch guidance discusses reducing stretching and adapting rollers and guides during laying.
Ask the supplier for instructions for the specific formulation, thickness and equipment. If tears develop at the shoulders or around contact points, stop and review bed preparation and machine contact—not just film thickness. A smooth-looking first row is not proof that the film has been installed within its handling limits.
Confirm the disposal route separately. “Biodegradable” or “compostable” wording alone does not establish that a film is suitable for incorporation into agricultural soil.
7. Inspect anchoring, irrigation and planting positions
Oklahoma State’s guidance describes soil-secured edges while noting that excessive soil can make later removal harder. The goal is reliable anchoring suited to the field, not simply burying as much film as possible.
The following is a practical field checklist, not a certification standard. On a small screen, scroll the table sideways.
| Check | What to confirm |
|---|---|
| Bed and cover | The film follows the bed without obvious hollows, sharp contact points or loose flapping sections. |
| Sides and ends | Anchoring is continuous; uncovered edge gaps have been corrected. |
| Irrigation | The line operates as intended, connections are accessible and its route is known. |
| Planting layout | Openings match the crop plan and avoid drip tape and structural anchoring zones. |
| Film condition | No unexplained tears, punctures or visibly damaged areas are being repeated down the row. |
Make planting openings with an appropriate tool and controlled depth. Keep openings limited to what the crop and planting method require. Check beneath the intended opening before using a tool that could reach the drip tape.
8. Troubleshoot the first section—not the whole field
Several faults can produce similar symptoms. These observations identify checks to make; they do not diagnose a film defect by themselves.
| Observation | First checks | Before continuing |
|---|---|---|
| Loose or lifting edges | Uncovered gaps, loose backfill, alignment or insufficient material at the sides. | Correct anchoring and reassess the trial section. |
| Repeated tears | Sharp debris, damaged machine contact surfaces, excessive tension or pressure. | Stop; identify the contact point and review the grade’s instructions. |
| Water collecting in depressions | Uneven bed profile or drainage problems. | Review the bed before covering more rows. |
| Leak after planting | Possible tape damage near a planting opening. | Expose and inspect the affected area carefully; repair the irrigation fault. |
9. Recheck after installation and plan the next order
Revisit the first rows after irrigation and relevant weather events. Record new damage and changes in edge coverage. Rain does not remove the need to assess moisture beneath the film: infiltration depends on field conditions, as Penn State explains.
Plan conventional PE film retrieval after use. For a verified soil-biodegradable product, follow its approved management instructions instead; drip tape and other non-biodegradable components still require separate handling. WSU distinguishes these end-of-season operations.
Match the roll to your bed and laying method
For a plastic mulch film inquiry, send the bed profile, finished film width, material, color, thickness, roll length, machine model or hand-laying method, core requirements and quantity. Include photos or a drawing if the installation has unusual constraints.
Ask for grade-specific laying and handling instructions before confirming the order. A quotation should match the application—not substitute for an irrigation or field-management plan.
Frequently asked questions
Can I lay plastic mulch by hand?
Yes, with a manageable roll, prepared bed and suitable edge anchoring. Work on a short section first. Large or heavy rolls need appropriate handling equipment rather than being forced into a manual workflow.
Does drip tape go above or below plastic mulch?
In the bed-mulching system described here, it goes beneath the film. Exact depth, offset, line count and emitter orientation depend on the irrigation design and the manufacturer’s instructions.
How deep should I bury the edges?
There is no single depth specified here for every soil, film and machine. Follow the relevant installation instructions and verify continuous anchoring in the actual field. Do not confuse film-edge burial with drip-tape burial depth.
Should mulch film be stretched as tightly as possible?
No. Remove uncontrolled slack while staying within the grade’s handling instructions. Excessive tension or equipment pressure can damage film; biodegradable grades may need different settings from PE.
Can rainfall replace drip irrigation under plastic?
Do not assume it can. Check moisture in the crop root zone beneath the cover and make irrigation decisions for the actual soil, crop and weather conditions.
References and technical scope
These sources support the installation principles above. Product and equipment documents apply to the products they describe; they are not universal operating specifications.
- NC State Extension — Using Plastic Mulches and Drip Irrigation for Vegetables.
- Oklahoma State University Extension — Use of Plastic Mulch and Row Covers in Vegetable Production.
- Johnny’s Selected Seeds — SRM Red Mulch instruction sheet.
- Rain-Flo Irrigation — Model 2470 Operating Manual.
- Washington State University Extension — FS304E biodegradable mulch guidance.
- Penn State Extension — Making Drip Irrigation Decisions After Rain in Plasticulture.